Wednesday, September 19, 2012

$1 Eye Tutorial and Review!

Everyone loves a good deal, so I decided to show that a $1 ELF quad can create a a really nice and dramatic eye look! I used the Day 2 Night palette and here is what I came up with:


Here is how I did it:


I started with an eye primer and then added the the medium brown color from the palette all over my lid. The color required a little bit of layering, but I do not think it was excessive work to get the desired look.


Then I used the dark eggplant purple in the outer corner of my eye and through my crease. This color had really great payoff. The only complaint I have for this color is some fallout, but that is easily corrected  by remembering to tap off the brush.


I used the dark grey color in the very outer crease to darken the area and make the look more dramatic. I also used that color under my eye for a lower lash line eyeliner.


To finish up the look I used the lightest color in the palette in my inner corner and under my brow bone as a highlight.  I also used the grey color and an angled liner brush to line my upper lash line. You could use a pencil liner, gel liner, or what ever else you like, but I wanted to use the grey so that the entire look would be from this one palette.


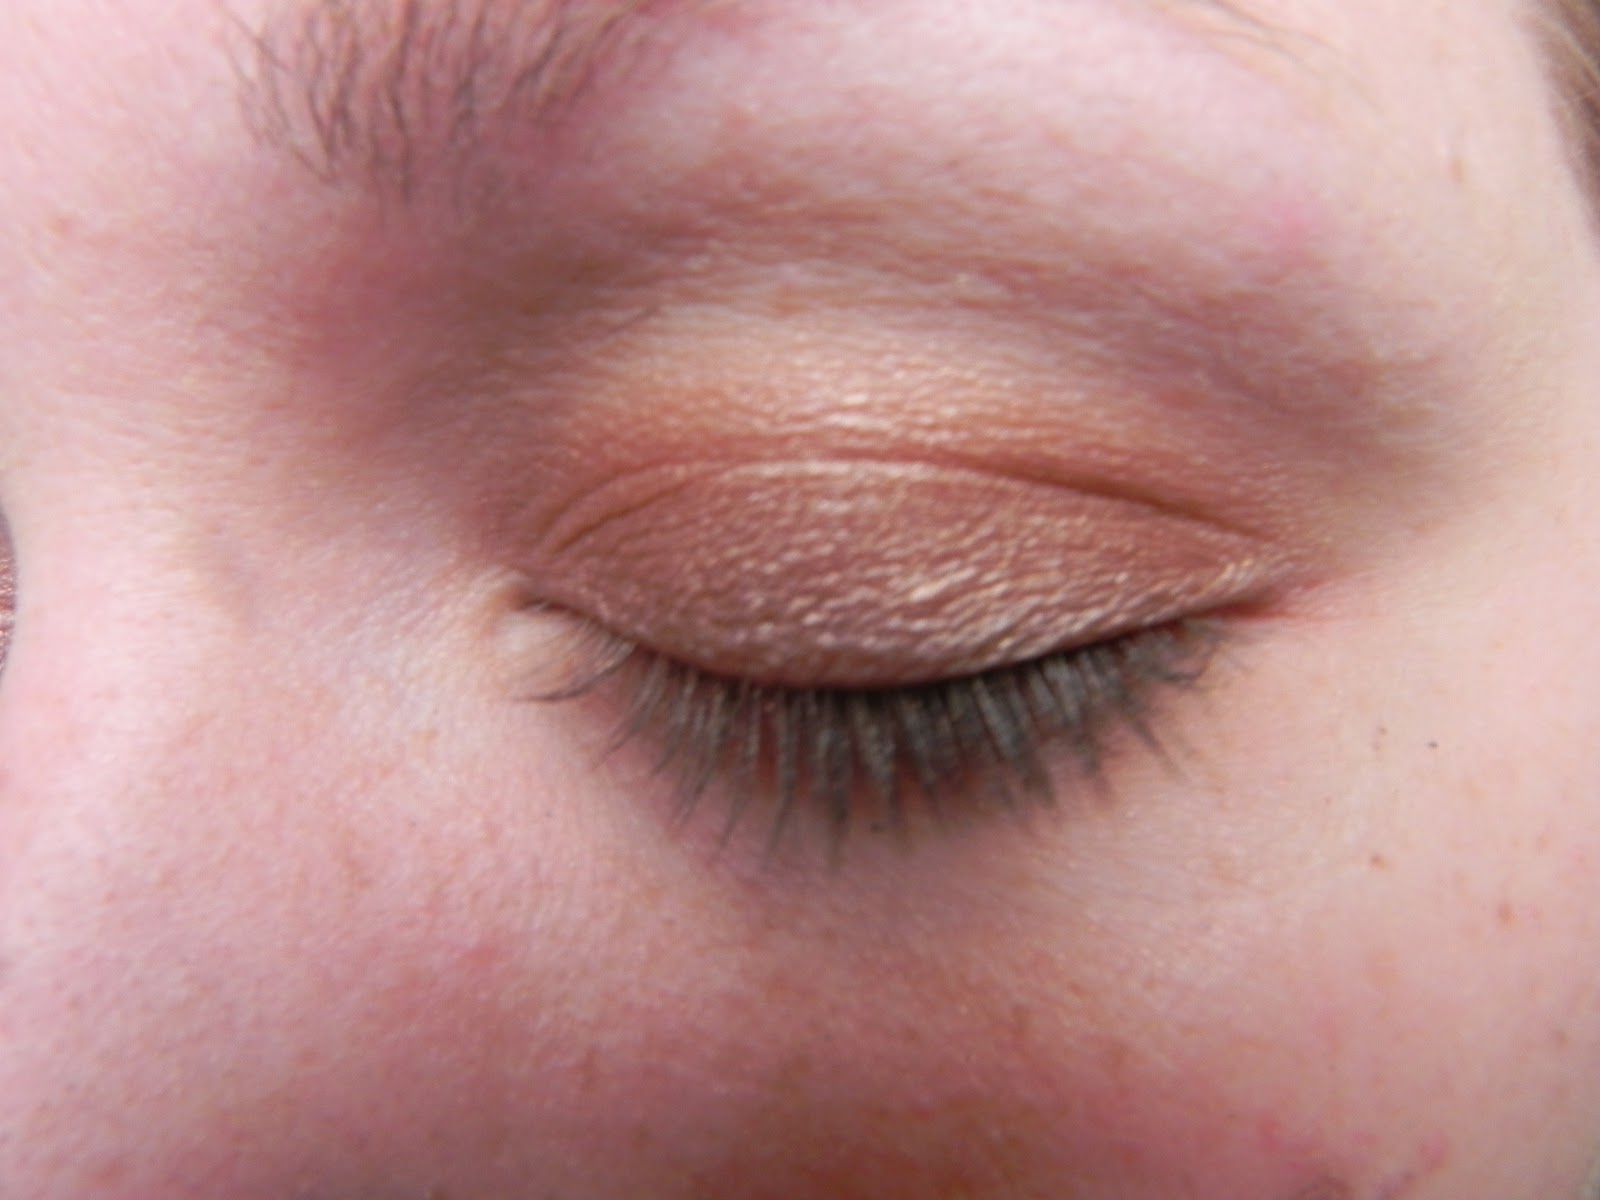
Curl your lashes, add your favorite mascara, and that is the look finished!

This is the entire face before and after:


I hope you enjoyed this look and will try it for yourself! This palette is available at eyeslipsface.com or at Target (where I got mine!) Let me know what you think about the look in the comments. Would you  like more $1 or similar looks? Put that in the comments too! -Jessica


Tuesday, September 18, 2012

Birchbox Sept 2012

I have been subscribed to Birchbox for the past several months, I think since May, but I really don't remember. I know before I became subscribed I was really curious what kinds of samples real subscribers actually received. I had watched video reviews with mixed reviews, but for $10 a month I decided to try it for a bit and see what I thought. I have to be honest I still have not really decided what I think. I am also subscribed to MyGlam and have been since February. Some months I like both, and some months I have a strong preference of one over the other. So here are my thoughts on this month's Birchbox. (MyGlam will be coming soon, but I have not received mine for this month yet.)


First in the box was Bvlgari Mon Jasmin Noir. It is described as "waves of ripe fruit and a base of heady jasmine." In all fairness I do not often wear perfume. The strong scents on my body often give me severe headaches, but occasionally I will come across a perfume I love and that just works for me. This is not one of those perfumes, but as I said I am not a fair judge.

Next was a custom polish made for Birchbox by Color Club. The color is Insta-This.


It is the blue color shown in the picture above (sorry for the messy application.) It is a great opaque polish after two coats. I was really happy about this being included in the box!

A sample of the Dr.Jart BB Cream was also included.


Above is a before and after of me applying the cream to my face. I have not added anything to my face except the BB Cream and I think it did a great job of covering my redness and evening out my skin tone. 

Next in the box was a sampling of hair products from LiQWd. Included was a volumizing spray and a sample of volumizing shampoo and conditioner. As a girl with very fine a flat hair I was excited to try these products and I was not disappointed. I could really tell a difference in my hair. I will look into buying the full size products.

The last thing was a twistband hair tie. This is a little bit useless to me since my hair is so short and I cut it shorter today, but it feels nice and it held my small bit of hair fairly well. 

This is not one of my favorite Birchboxes, but i did fine some new things that I really liked. That is generally how I feel every month there is usually one or two things I really like and the rest is meh. I will be doing a post on the MyGlam Bag for this month when it arrives and I have had a chance to try out some of the products. Leave me a comment telling me what you thought of the Birchbox, or if you also get Birchbox what came in your box! -Jessica


Monday, September 17, 2012

Fall Eye Look

Sitting on my couch today, watching the rain fall outside, I was inspired to try a slightly dramatic look for the impending fall weather. It is so drab and grey outside that I wanted to use a little color to brighten up the day and really get me in the fall spirit! This is what I came up with:


To start


I start with my foundation and concealing all of my blemishes, under my eyes, and any other redness on my face. Then I fill in my brows and put a primer on my lids.


To start this look I used a Maybelline color tattoo in Bad to the Bronze. I used this all over my lid, into my crease, and smudged under my lower lash line. These cream eyeshadows have fantastic staying power and provide a great color enhancement for colors used over them.


I then used a crease brush to apply MAC's Brash all over my lids, into my crease, and under my lower lash line. Brash is part of the Call Me Bubbles quad that came out with the MAC Shop/Cook collection this past spring. Its a great bronzy, orange shade. Several companies make shades that are similar to this and MAC's Coppering would be a great alternative.


I then used a soft black eye pencil along part of my upper lash line and into my crease.


Using another crease brush I blended the pencil in the outer corner of my eye and half way along my lash line. This can take a little work. Its best to put some pencil on, blend, put on more pencil where you would like it to be darker, and blend more. Repeat this process until you are happy with the look. I wanted the bronzy orange color to be the star of this look so I did not go too dark.


To finish up the eyes I used a white highlighter in my inner corner and on my brow bone. I then used some gel liner along my upper lash line, curled my lashes, and applied mascara. A great eyeliner alternative would have been to use that eye pencil from earlier and smudge it along the lash line.

Here is a before and after with the full face:


I hope you like this look and it puts you in the fall mood like it did me! If you have any questions on this look or any looks you would like to see let me know in the comments below! -Jessica


Monday, September 10, 2012

You Don't Know Jacques! Review

So I feel like for complete disclosure I should admit: My name is Jessica, and I am addicted to nail polish. I love nail polish and I wanted to review one of my favorites for the fall weather coming up! You Don't Know Jacques! Is a great taupe polish from OPI


This shade is just the perfect neutral for fall I think! It is not too grey or too brown it is a lovely blend of both and I have yet to find an outfit this polish does not go well with. The polish is also a great consistency. It is very smooth and applies like a dream. I use two coats of this polish for my desired finish. Below there are pictures of the polish with flash and without.


This polish does not go streaky or clumpy and I will repurchase this for years to come if I ever use up my bottle. If you like the color I would highly recommend it you will not be disappointed! Leave a comment letting me know what you think and other nail polishes you would like me to share more about! -Jessica

Thursday, September 6, 2012

New Everyday Look!

Lately I have been loving using all of my MAC eyeshadows. I go through rotations of what I reach for the most in my collection and right now they are winning most days! Due to this I have felt the urge to purchase more every time I walk by a MAC counter. The other day I did not win the fight and purchased Sable. I have been eyeing this color for awhile and I thought I would use it a lot for this fall. The second I used it I knew it would quickly become a favorite and have worked it into a new everyday makeup routine that I can use for work! Here is what I came up with!:


I started this look with my Maybelline BB Cream over a primer. I used some concealer for my blemishes, because the BB Cream doesn't have great coverage. Then I powdered my face to set it all. This BB Cream needs help in the coverage department, but it has pluses that outweigh this for me. (If you'd like a review let me know!)


After priming my lids I added Sable, a gold plumy brown, all over the lid using a flat shader brush. I put from the lash line up to where the crease starts.


I used a blending brush to put Satin Taupe, a deep taupe brown, in my crease and in the outer corner of my eye. I blended the color out quite a bit on the outer edge above my crease to make the look a lot softer and more natural.


I then put both Sable and Satin Taupe on my blending brush and took it under the eye. Using a small detail brush I used Rice Paper, a yellow/white shimmer, as a highlighter in my inner corner and under my brow.


I used Carbon, matte black, smudged along my lash line for eyeliner, because it is not as harsh or dramatic as liquid or gel liner. I also curled my eye lashes, added mascara, and filled in my brows.

Here is my full face before and after:

no makeup at all


I am really loving this look! I hope you enjoyed it too and will try it out! If you like this leave me a comment on what you liked or what you would like me to do next. Any questions on what I used or more details on those products? Let me know! Have a great day- Jessica

Monday, September 3, 2012

Golden Eye using the Urban Decay Naked Palette

Summer is winding down and fall will be here soon, so I was searching for a look that I thought could get me through the transition nicely. This golden brown look I think works perfectly! I used eyeshadows from one palette, the Naked Palette from Urban Decay, to make the look easier for a morning routine.


The first step in my makeup routine is setting a good base. This look is not going to involve glitter or shadows that have a significant amount of fallout, so I started with my foundation. Here i have applied moisturizer, primer, foundation, concealer, and a powder. I have also done my eyebrows. I like doing this first, because I use my eyebrows as a guide for the shape of my eyeshadows.


After adding eyeshadow primer, I always use a primer because I have oily lids and my eyeshadow won't last otherwise, I used a flat shader brush to apply "half baked," a gold metallic color, from the Naked Palette all over my lid.


I then used "smog," a medium brown/ bronzy color with gold leanings, to in the outer corner and into the crease to add some depth. I blended out the edge for a slightly softer look.


Over "smog" in the very outer corner and only in the depths of the crease I added "dark horse," a dark brown with gold flakes, for more depth and dimension. I mixed "smog" and "dark horse" on my crease brush and smudged it underneath my eye to tie together the top and bottom lid and to work as a lower liner. At this stage I also added "virgin," a pinky white, to the inner corner of my eye and below my brow bone as a highlight.


I did a winged liner using black gel liner. I use my lower lash line and the corner of my eyebrows to map out the the line that forms the wing, then I bring the liner in making it thiner as it approaches the inner corner. This adds drama to the look and is optional. I also added black pencil liner to the upper waterline.


To finish up the eye I curled my lashes and applied mascara to the upper and lower lashes.

Here is my full face before and after:


I hope you enjoy this look! Of course you do not have to use the same products as I did. There are cheaper alternatives to the Naked Palette that would create just as beautiful an effect, I just use what I have already. If you have any questions, comments, or requests on future posts please leave them below! -Jessica


Sunday, September 2, 2012

Review: ecoTools "The Everyday Collection"

I have heard great things about the ecoTools brush line for awhile now and just never got to trying them out. While at Wal-Mart the other day the "Everyday Collection" caught my eye and I decided to pick it up. For $10.98 I got 5 brushes and a case. 


The five brushes include:
Angled Blush Brush
Eye Shading Brush
Angled Eyeliner Brush
Detailer Brush
Concealer Brush


The Angled Blush Brush is a brush I have been wanting for awhile. I have been using this for conturing. Its great for placing the bronzer in the hollows of your cheeks and at the temples. It picks up the product well and blends out great.


The Eye Shading Brush is a very full flat shader brush. It picks up the color very well and is a great size for applying shadow to the lid. It is great for packing shadow on the lid without using too much product. This is another brush I was lacking in my collection and I am enjoying this a lot.


The Angled Eyeliner Brush is unique among my the eyeliner brushes I already own. The bristles of the brush are longer than usual and it is pretty wide. The differences work for me. I think it works great for smudging eyeshadow along the lash line. 


The Detailer Brush is a tiny brush that is great for highlighting that inner eye area. It works much better than I expected. I had pretty low hopes for this brush, because I have never really seen the need, but I was pleasantly surprised. I do not know that this is a brush I will reach for everyday, but it will be used on really detailed eye looks.


The Concealer Brush is a larger concealer brush than I have used before. I really really like this brush. It is really great for blending out concealer under the eye and blemishes on the face. I have really enjoyed this brush and it will become an everyday favorite. 

The case did not make the set for me. It is made from natural cotton and hemp and is very flimsy. I would not trust this to protect the brushes in my purse or in a bag for travel. I am not sure that I will ever use it, but the quality of the brushes makes the kit worth it. 

The brushes are so soft and feel great to use on the face. I have cleaned them and there was no shedding at all. The bottom line is that I would highly recommend this set to anyone. I really love them and will be making more ecoTools purchases! You can't beat $10.98 for 5 brushes and I would pay a lot more for the quality of brushes.