Thursday, February 7, 2013

MAC Archie's Girls Lipsticks


There is nothing more difficult to resist to a makeup collector than special packaging for a new collection. In addition I have recently lost my favorite lipsticks and I am on a mission to rebuild my collection. Today I was a attacked on two sides by this:


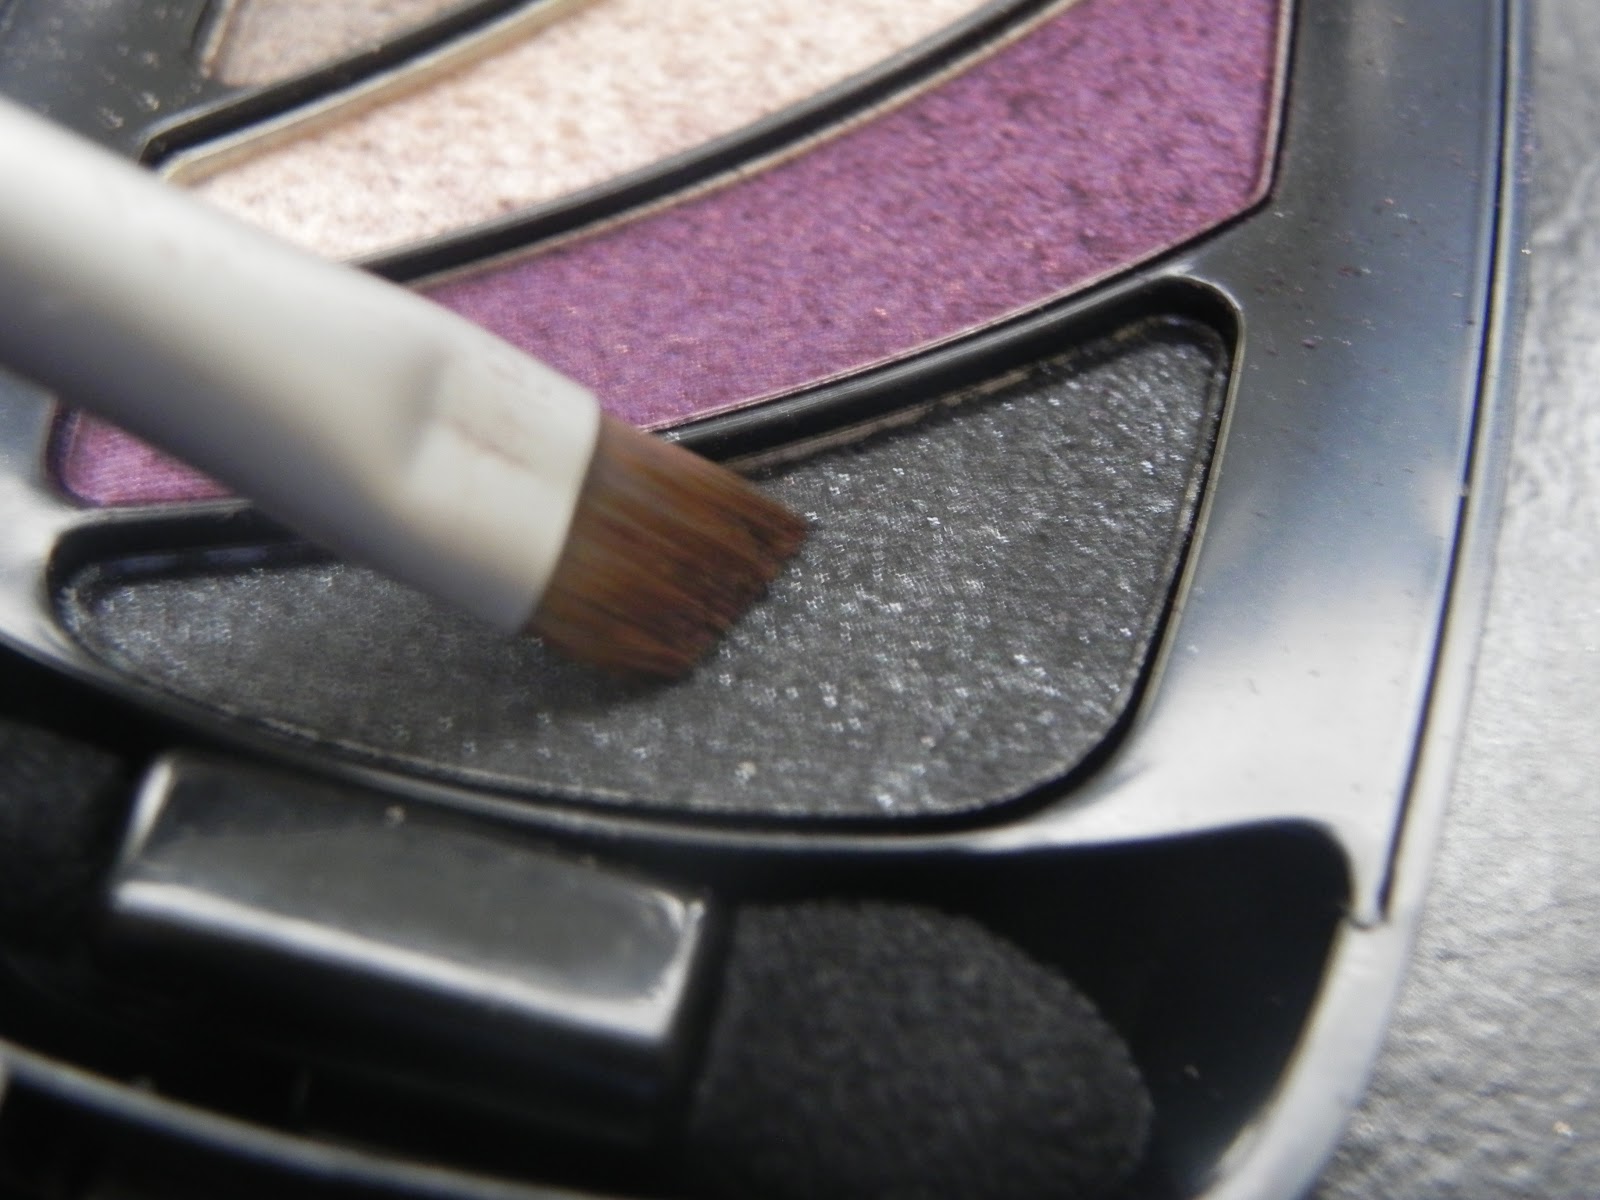
The new MAC Archie's Girls collection has really cute packaging on top of having some really great colors. I was very tempted by the Betty eyeshadow quad, but I contained myself to my lipstick mission!

The first item I picked today was not from the new collection, but part of MAC's permanent collection. I had collected six empty containers and decided use the Back to MAC program to replace my beloved nude lipstick.


Creme D'Nude is a lipstick I have heard a lot about in blogs and reviews. It is a beautiful neutral color.


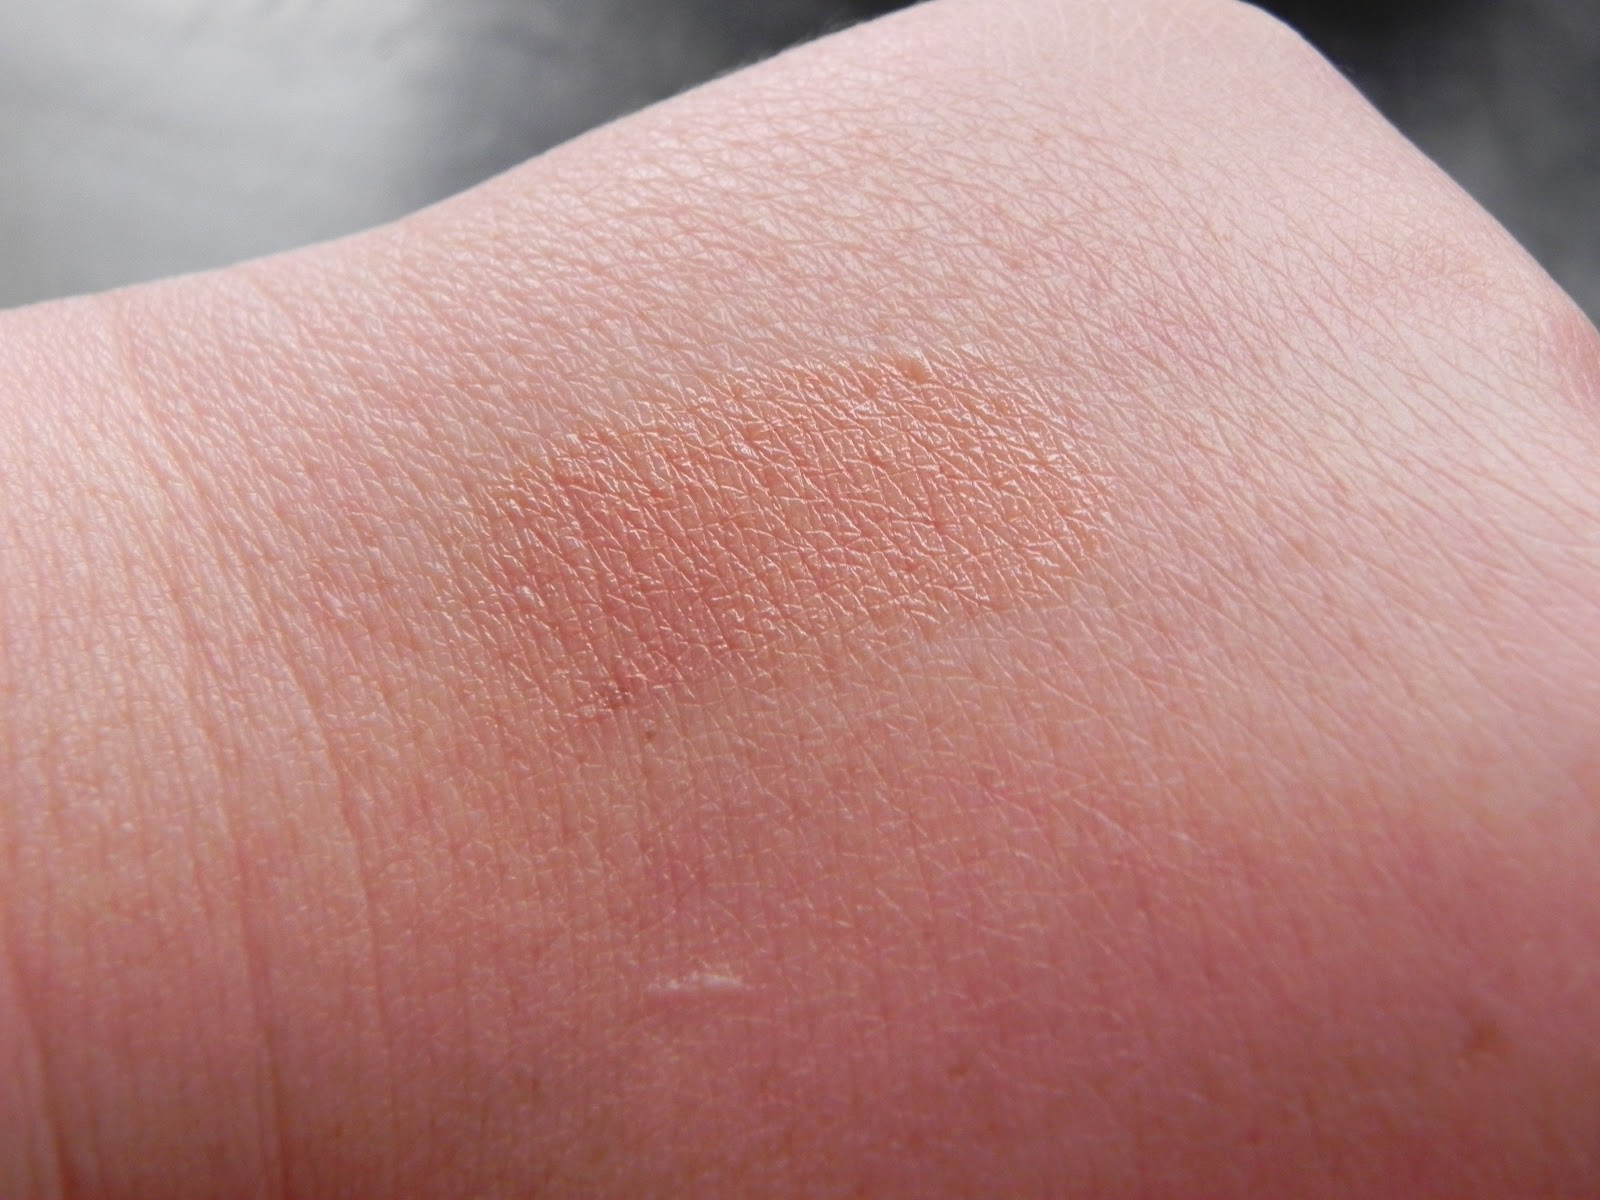
This is a swatch on my hand.


This is the color on my lips. I love colors like this to neutralize my natural lip color, and then apply a colored lip gloss on top.

Then I chose two lip products from the new collection:


Kiss & Don't Tell is a beautiful coral color. It is very bright and will be great for this spring and summer.


This is a swatch on my hand where you can see the pigmentation.


This is the gloss alone on my lips. 


This is the gloss over Cream D'Nude. I love how the nude lipstick tones down the color of the gloss into a beautiful hint of color on the lips. Great for daily use.


This is the lipstick Girl Next Door. It is a beautiful light pink. This color is quite adventurous for me, but I love it!


This is a swatch of the color on my hand.


This is the color on my lips. I love the light sheen it gives to my lips! I will get a lot of use out of this for spring!

I encourage you to stop by a MAC counter and check out the collection if you're interested or you can see it online at maccosmetics.com. Did you like this post? Do you have ideas for future posts? Leave me comment and let me know what you think! -Jessica

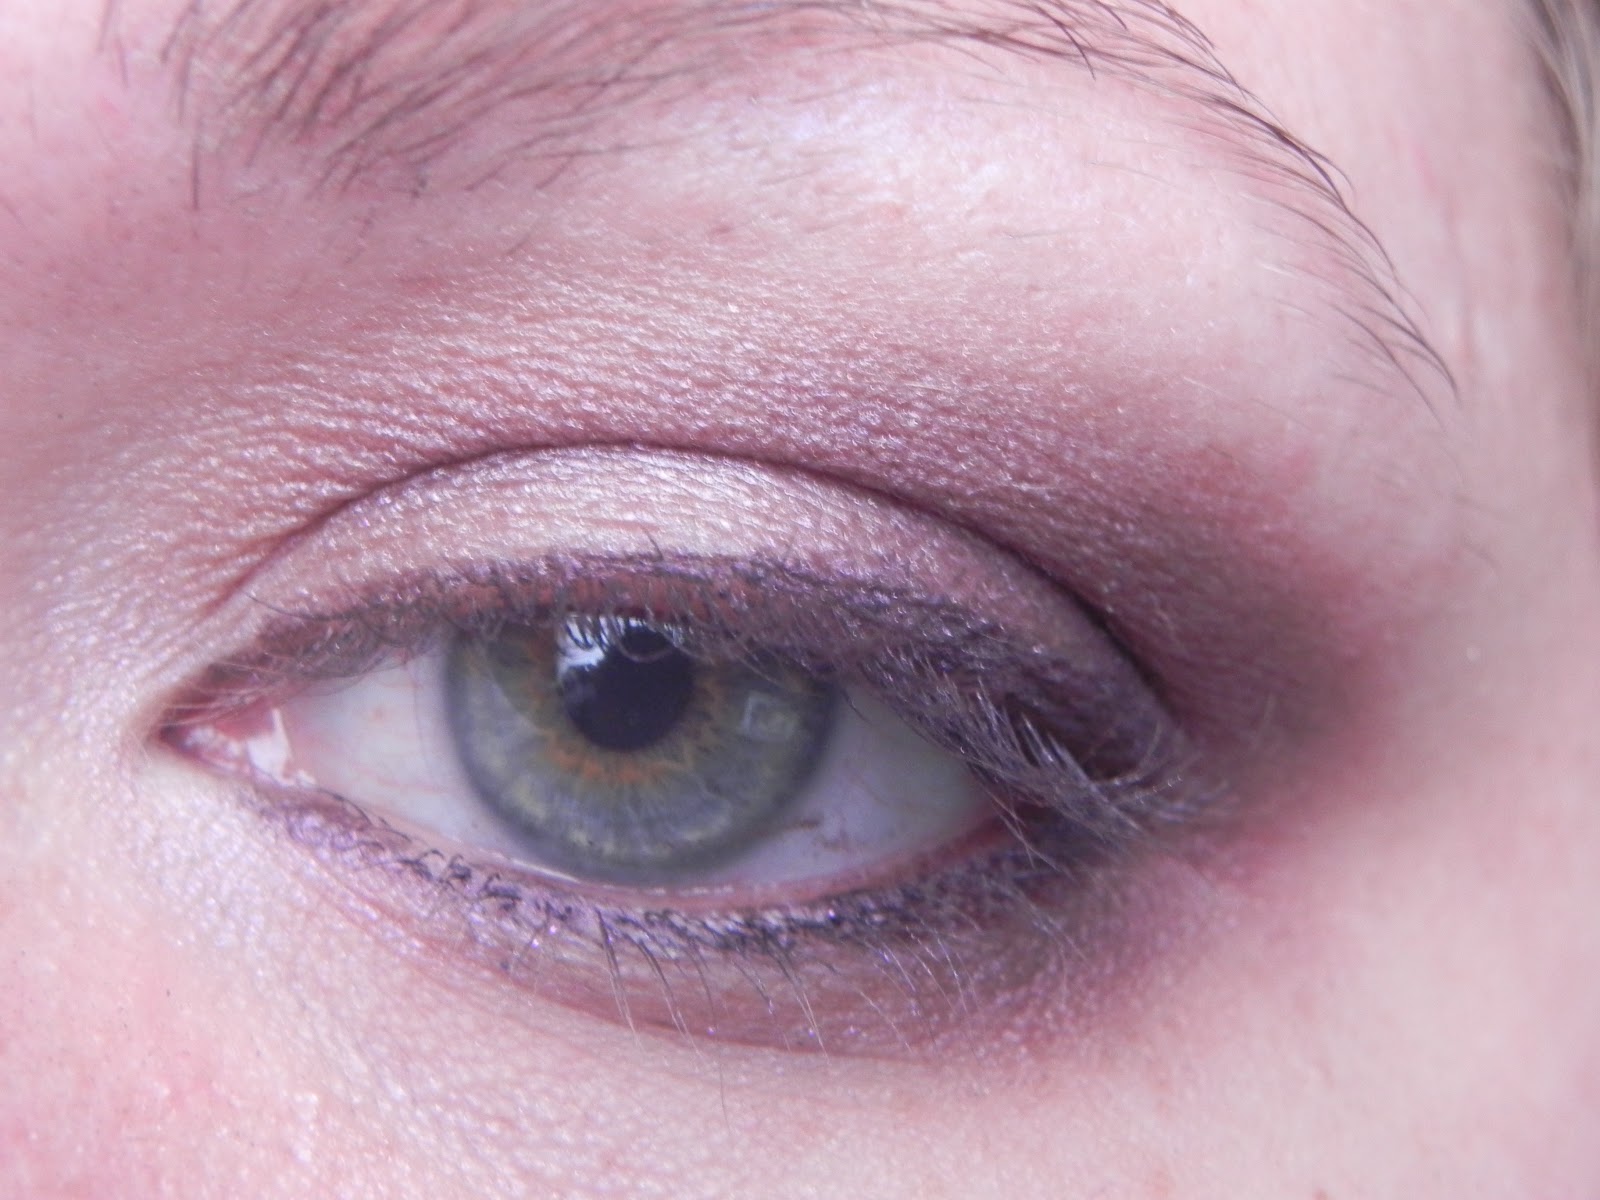
Sneak peak for an upcoming tutorial:


Monday, February 4, 2013

All Drugstore Tutorial (Dupe for UD Glinda look)

L'Oreal has recently released some new eyeshadow quads:


I picked up this quad in Sultry Seductress from Ulta for $7.99. The taupe brown color and the beautiful purple really reminded me of the colors West and Tornado from the new Urban Decay Glinda Palette, so I decided to recreate that look using this quad. This is the result in comparison with the Glinda look:


                                      Urban Decay                                         L'Oreal
Here is what did:


Because the L'Oreal shadows are very shimmery, like the UD palette, I did my eyeshadows before my foundation. I did go ahead and moisturize and prime my skin.


To prime my eyelids I used the Maybelline Color Tattoo in Tough as Taupe all over the lid and NYX Jumbo Eyeshadow Pencil in Milk. The Maybelline Color Tattoos are my very favorite cream eyeshadows! I have used MAC Paint Pots and Benefit Creaseless Cream Shadows and they both crease on my eyelids. The Color Tattoos stay put all day long and have never let me down. The Jumbo Eyeshadow Pencils do crease on my eyes, so I use this on my brow bone and inner eye. It makes my highlight show up better and these are areas that do not suffer from creasing. NYX is a brand only available at Ulta or online, but their prices are very reasonable and it is often on sale. 


Using a flat shader brush apply the taupe brown color all over your eyelid. 


Apply the purple with your favorite crease brush. Focus on the outer part of your lid working in a "V" shape from your lash line into your crease. Blend the color out lightly into your crease.


Working with the same color, take a smudge brush and blend the color into your lower lash line. This creates a smokey effect and adds an extra pop of color.


Use a small brush to apply the cream color to the inner corner of your eye and along your brow bone.


This beautiful black makes a great eyeliner for this look. Use an angled brush to place this color along your lash line. Once I got the desired look, I used the remaining product on my brush and pushed that along the very outer corner of my lower lash line for some extra definition. 


Use your favorite mascara to finish off the look. My favorite right now is the Maybelline Mega Plush. I really love Maybelline mascaras and often prefer them to higher end mascara. You should be replacing your mascara every three months to keep your eyes healthy. I do not want to spend $20 every three months, so I tend to pick a drugstore mascara. Plus this makes my eyelashes look thick and dark, without feeling brittle. I really love this stuff!


For my foundation I love the Revlon ColorStay Whipped foundation. I prefer to use this with a wet beauty sponge. I got this one from Ulta for $4 and it works great for me. This foundation is thick, so it covers well, but once it sets it looks natural on the skin and does not feel heavy at all. This is a foundation I have repurchased, and would recommend to anyone who is looking for a great natural looking foundation that has great coverage. 


My favorite drugstore bronzer comes in at $3. This is NYC smooth face bronzer in Sunny. I believe that this is the only color they make this bronzer in, so it is easy to find. It is a matte bronzer and works great for contouring. It gives a great natural color to my skin and I love this!


This is the Hard Candy So Baked Bronzer in Tiki. This is a terrible bronzer. It is very shimmery and is way too light, but it is a fantastic highlighter! It is comparable to theBalm's Mary Lou-manizer, which costs $24. I bought this too long ago to remember the price, but it can be purchased at Wal-Mart.


I love the NYX blushes! They are $5 at Ulta and they are just amazing. This is Mauve and it is the perfect matte blush for everyday. Cannot say enough good things about this blush. I use it all the time.


The last product I used for this look is my Revlon Lip Butter in Sweet Tart. The Lip Butters are one of my favorite lip products! They give a great color to the lips, but they are so easy to apply. I can apply these without looking in a mirror and they make my lips feel great. I have these is several colors!


This is my before and after photos! I hope you enjoyed the look, even though it was a dupe for the last one. I just thought it was important to show that you can get great products on a budget! 

If you have any questions or comments please leave them below! Also let me know what you would like to see next! -Jessica


Thursday, January 31, 2013

Urban Decay Glinda Palette Review and Tutorial


Urban Decay has released two new palettes this month and today I picked one up. The palettes are based on the new movie Oz The Great and Powerful, and there is one for Glinda and one for Theodora. The Glinda palette caught my attention from the beginning.


To me this is the epitome of girlie! This set comes with 6 eyeshadows, two are new dual eyeshadows, an eyeliner pencil in Rockstar, a super-saturated high-gloss lip color in Glinda, and a get the look card that teaches you how to get Glinda's look using the palette. On my hand you can see swatches for the lip pencil and the eyeliner. 

The colors: (top left to right, then bottom left to right.)
Tornado: A beautiful deep purple. 
Aura: The first of the two duo shadows. The pictures of this shadow do not do it justice. One half has a purple iridescent and the other is a rosy iridescent. 
Magic: A medium pink with some light gold shimmer.
Illusion: Light peach color with a satin finish. 
Oz: The second duo shadow, is half gold and half silver. These shadows have glitter in them that are going to result in fallout. 
South: A beautiful medium taupe brown with shimmer.

From the little bit of playing around I have done with the shadows they blend beautifully and have great color payoff. There is some light fallout, especially with Oz. There are two ways to help this: 1. tap off your brush very well before applying the shadow to your face. This will help get rid of that extra shadow that is most likely to fall on you face. 2. put your foundation on after you do your eyeshadow. This is the method I used for the tutorial further down in this post. 

The palette comes with a "get the look" card for the Glinda look in the artwork promoting these palettes. I followed those directions to do a quick look so you can see this palette in action.


The first step was to put the lavender iridescent half of Aura on the brow bone for a highlight. 


Next use Illusion on a fluffy brush as a buffer color between your crease and the brow bone highlight. This helps tone down the highlight and make your crease shadows easier to blend.


Use South on the upper eyelid and blend it into your crease.


The other half of Aura works as an inner corner highlight and take it along the inside of your lower lash line.


Line the upper and lower lash lines with the Rockstar pencil.


Using tornado on a fluffy brush place it in your outer corner, blend it out into your crease, and used what is left on your brush to smudge along the outside of your lower lash line.


Taking a smudge brush, smudge Magic along the lower lash line between Aura and Tornado.


Add your favorite mascara and that is the look! I also added a little bit more of South to my eyelid to add a little more color.


I used the lip pencil and it is a really beautiful natural color. I also really liked the texture it was surprisingly moisturizing and not too sticky.

Before and After full face:


I really like this look and this palette! I think it will get a lot of use as we move into spring and I would recommend it to anyone who is interested! You can purchase this set for $49 from Sephora, Ulta, or UrbanDecay.com.

If you like this palette or look let me know in the comments below! Also let me know what you would like to see next! -Jessica